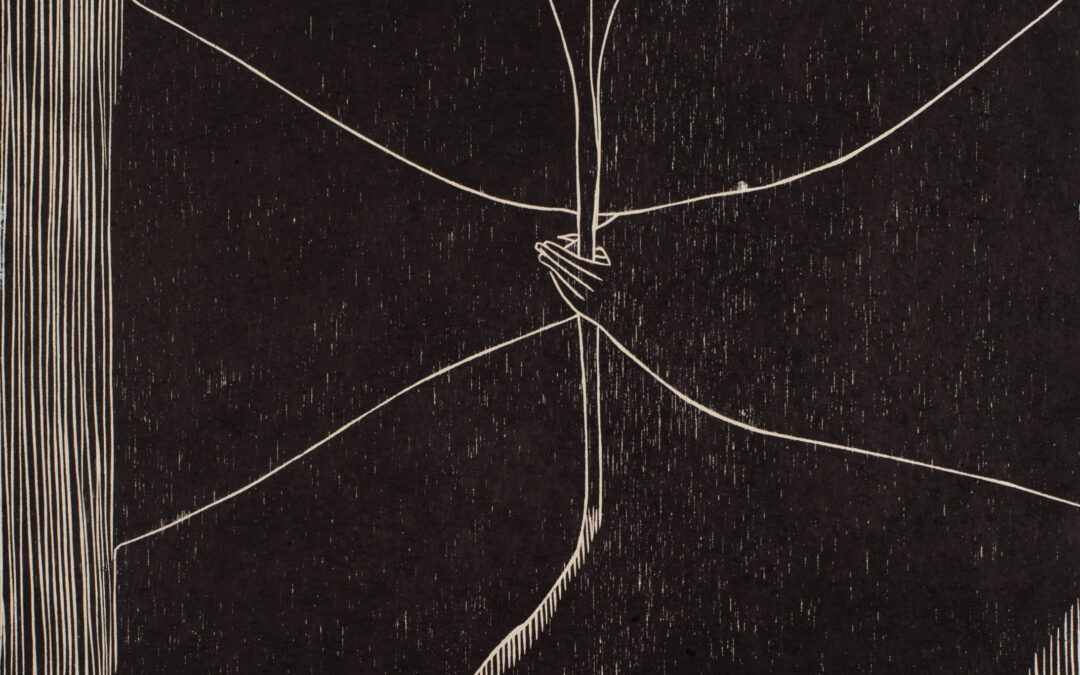
wood engraving workshop with michael schlitz
Objectives
To produce a relief print using the wood engraving process
The block
In wood engraving the end grain is used to produce the print rather that the cross grain. Because of this and the particular types of tools used finer pattern and detail is the result. The traditional wood used is English box though In Tasmania native olive is a far superior timber as it is harder and closer grained than box. Other Tasmanian woods useful to this process are Lancewood, Cheesewood, Goldie wood and Horizontal.
Preparation
The block has to be sanded to a polished surface before transferring the image and printing. 400 grit sandpaper is generally enough to get the surface of the block ready for cutting though 800 to 1000 grit can also be used as well. The surface should reflect like a mirror when held at an 85-degree angle to the eye
The image can then be drawn directly to the block or traced with carbon paper. If required a thin layer of white gesso can be applied to the surface of the block before transferring the image this enables you to see more clearly the design while you cut
Tools
Round edge graver (Round scauper)- clearing white spaces: also for dots and thick lines.
Flat edge graver (Square scauper)- For clearing corners, angles and larger areas of white.
Lozenge graver (Lozenge or diamond graver)- fine, even lines.
Onglette graver (Spit sticker)- good for curved lines and a line can be widened quicker that the lozenge or diamond graver.
Knife graver (Tint tool)- the tapered sides of this tool make it easy to maintain an even shallow line in the wood for areas of tone (when used in a parallel stroke.
Sharpening tools
It is important that the tools are sharp so that slippage and splitting grain does not occur. The tools are sharpened first by a coarse stone then a fine stone usually Arkansas. The face of the graver is placed flat against the stone (around 20 degrees) and moved back and forth as straight and evenly as possible. The burr on the tip is removed by dragging the graver back once on both sides in a reverse direction on the stone.
Cutting
Cut away from the body with the graver almost horizontal to the surface of the block. Usually the thumb is used to guide the point of the graver and the handle is supported where the palm meets the little finger. The various gravers will each give a different mark (you will become familiar with these if practiced enough) though I prefer to use only one tool (minimal but effective especially when using a repeating pattern).
Printing
The ink is rolled onto a sheet of glass lifting the roller each time to ensure an even application the sound of the ink should be sharp not sticky. The block can be covered a few times with the hard roller but not too many as the ink may spread into the finer detail during the burnishing process. The print can be editioned quite quickly due to the size of the block.
